6. Woven Beadwork
This is a very useful technique to make belts, bracelets or hatbands. You can also use it, for making decorative stripes for jackets or bags.

It
is very simple.
The only thing you need
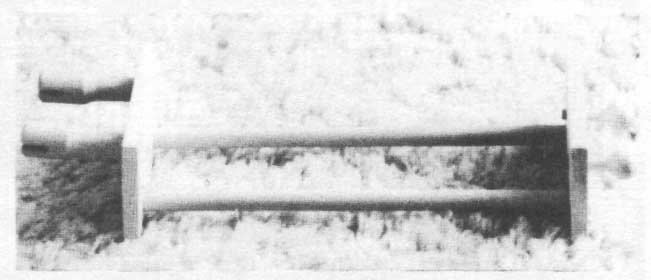
in addition is a loom. There are several different types available.
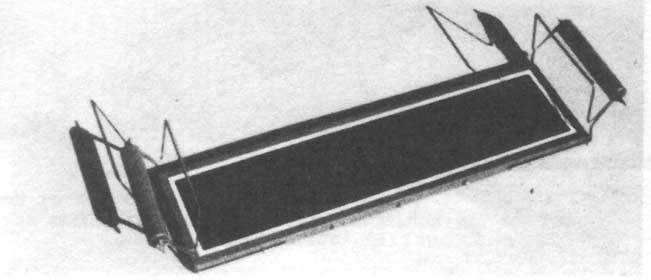
This loom has rolls to roll off the finished work from the loom.
This is the type of loom I use for my work. It is very solid and has also the possibility to roll off the finished work.
What you have to do:
First you have to decide on a pattern. You can take all the designs you know from the Designs. You just have to take squared paper. Each sqare marks one bead. Then you can transfer the designs. Sometimes you might have to siplify it, too, because the design you chose is broader than for instance the bracelet you want to make. Also curves are not easy to fit into a weaving pattern.

![]()
![]()
To get a feeling how many beads are useful for a bracelet, string up a number of beads and compare the length (which represents how broad the bracelet will be) to your arm. That way you can decide how many beads you're gonna take.
When you have decided on a pattern, including the color, and made a sketch on squared paper, you have to decide on the beads. Other than with the techniqes described in Stitches, you have to select beads, that are almost the same in size and thickness. This is very important here, because if the beads vary in thickness, it can happen that the whole bracelet varies in width, which does not look very professional. Although a slight unevenness can't be prevented.
The next step is to cut the so called loom threads, which are the threads that run through the length of your work. They have to be at least 40cm longer than the object you're gonna make (20cm for each side), so that you can make a strong finish for your work.
I recommend using a strong thread, like it is used for sewing on buttons, in the main color of your work (mostly the background color).
The
number of the threads is also important. It always has to be one more than
the number of the beads, that the beads are lying inbetween the threads.
It is also possible to use 2 more threads to double the outward ones, to get
a better hold. I recommend it especially for larger workpieces.
Now
that you have decided on a design, found your beads and cut the loom threads,
you have to get them on the loom. You can start at one end, but it is sometimes
advantageous to start beading in the middle of the workpiece. That way you
can make sure that the remaining threads are completely the same length to
finish up your work.
Fasten the threads on the loom (the individual technique depends on the kind
of loom you have) and make sure they are tight. It should be the same amount
of tension on each thread to become a flat workpiece.
Then take another thread, like the perlon thread I recommended for the lane stitch etc., and tie it to the outmost threads (left or right just depends if you are a right handed or left handed person or how you prefer to work). It will be called from now on beading thread. As for the needles you should take the long ones I recommended in Materials.

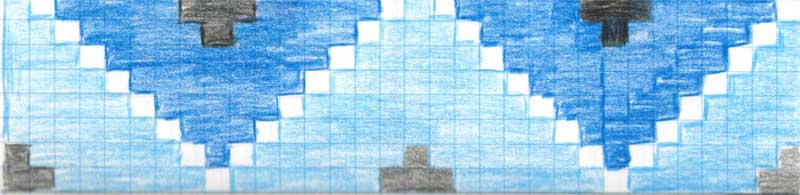
Now
start beading the design: take up the number of beads you need from each color
from left to right (when you work from left to right). Then lead the beading
thread under the looming threads and press them with the index finger of your
left hand (when you are right handed) into the spaces between the threads,
as shown on the sketch above.
Now take the needle and lead it through the beads again BUT above the
looming threads.
That is all there is to it. You just have to make sure that the beading thread lies on both sides of the looming threads for a good hold.
For the next row repeat everything from taking up the needed beads to pushing the needle back through the beads.
When you finished the work, you have to make an ending. In these sketch are several suggestions. But you can also take the looming threads together and make a "braid". I used this technique for bracelets. So you can take the two ends for binding it around your wrist.

Here is a link to an interactive Beadwork Designer.
It can be used for planning your loomwork.
The designer belongs to www.nativetech.org.
Your browser must allow JavaScript.
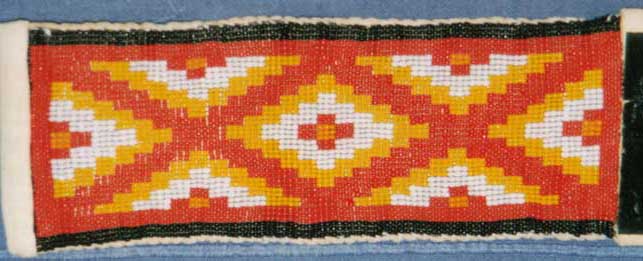
And here are some examples of woven beadwork:
![]()
![]()